
Quilt Labels
Linda K, president of our guild the Twisted Stitchers, wrote to me recently to ask about making quilt labels. She wanted to know what type of information should be included on a label and how to go about making one. It’s probably in the forefront of many of our guild members’ minds because of our upcoming quilt show at the end of October.
I’m a huge proponent of quilt labels because I’ve been going to thrift shops, garage sales, auctions and antique stores for a gazillion years now and it just breaks my heart when I see a beautiful quilt lost in the wild! I know that it’s because I put much more value in these quilts than the people who have donated them/thrown them away/cleaned out someone’s house/etc, who only see “blankets”. When I see these quilts I always think of the people who have put their hearts and souls into making these (in my opinion) works of art. Even the most basic quilts should be appreciated for their thriftiness and the comfort they provide.
Any of the quilts that I have made for the special people in my life, for guild challenges, and specific quilts I have made for both myself and competitions/shows all get a label. I have to admit that I’ve been remiss in making labels for the hundreds of teaching samples I’ve made over the years, but they hold no personal connection for me. Maybe I should follow my own advice and make them anyway.
The most basic label is one that anyone can make with very few supplies. All you need is a piece of light coloured quilting cotton, a piece of freezer paper and a permanent fabric marker/pen. I personally have only used a Pigma Micron Pen, but there are many more on the market. All you have to do is search “permanent fabric marker” online and you’ll see what I mean. With the Pigma pens the larger the number, the larger the nib of the pen…I usually use a size 08. You may have to try a couple of different sizes (or brands) until you find the one that you like most. I do find that after a few washes the ink in the Pigma marker does fade a little.
Use 100% quilting weight cotton for the label that is light enough in colour for the ink to show up. I usually have yardage of white or cream lying around, but I’ve seen some labels on pretty, pale prints that look wonderful too. You may have a beautiful light coloured print in the quilt that can be used on the label so the back works with the front.
Onto the freezer paper…yes, I know you use it for wrapping food for the freezer, but some smart quilter along the way found out that it’s a useful tool for quilting, too. You can choose to use the lowly freezer paper that you buy at the grocery store which is a pinkish brown colour (and much less expensive) or you can purchase the white freezer paper marketed towards quilters which is opaque (perfect for tracing designs…but that’s another lesson for another time!). I just did a search online and found that prices range from $6.99-$47 so I highly recommend you check your local grocery store next time you’re there. Freezer paper is not the same as parchment paper so don’t get that for this technique.
The reason the freezer paper is important is that it stabilizes the fabric so it can be written on more easily. The fabric doesn’t move around as the pen moves on it because the paper has been pressed onto the back. Cut the fabric slightly larger than the finished size of the label, taking into account the amount of fabric to be turned under to hand-stitch it onto the back of the quilt later. Cut a piece of freezer paper to fit on the back of the piece of fabric.
Freezer paper has a matte paper side and a shiny waxed side. Place the fabric piece wrong side up on your ironing board (if there’s an actual right/wrong side), place the freezer paper piece shiny side down on top of the fabric, and using an iron set to the cotton setting press the paper side of the freezer paper for a few seconds. Voila! The freezer paper has been temporarily attached to the fabric without damaging it. Now you can write all the pertinent information on the fabric label. Once the label has been completed the freezer paper is easily removed and can be used again and again.

the two different types of freezer paper- both with one matte side and one shiny side
include the pertinent info with the permanent marker

the freezer paper removes easily with no damage to the fabric
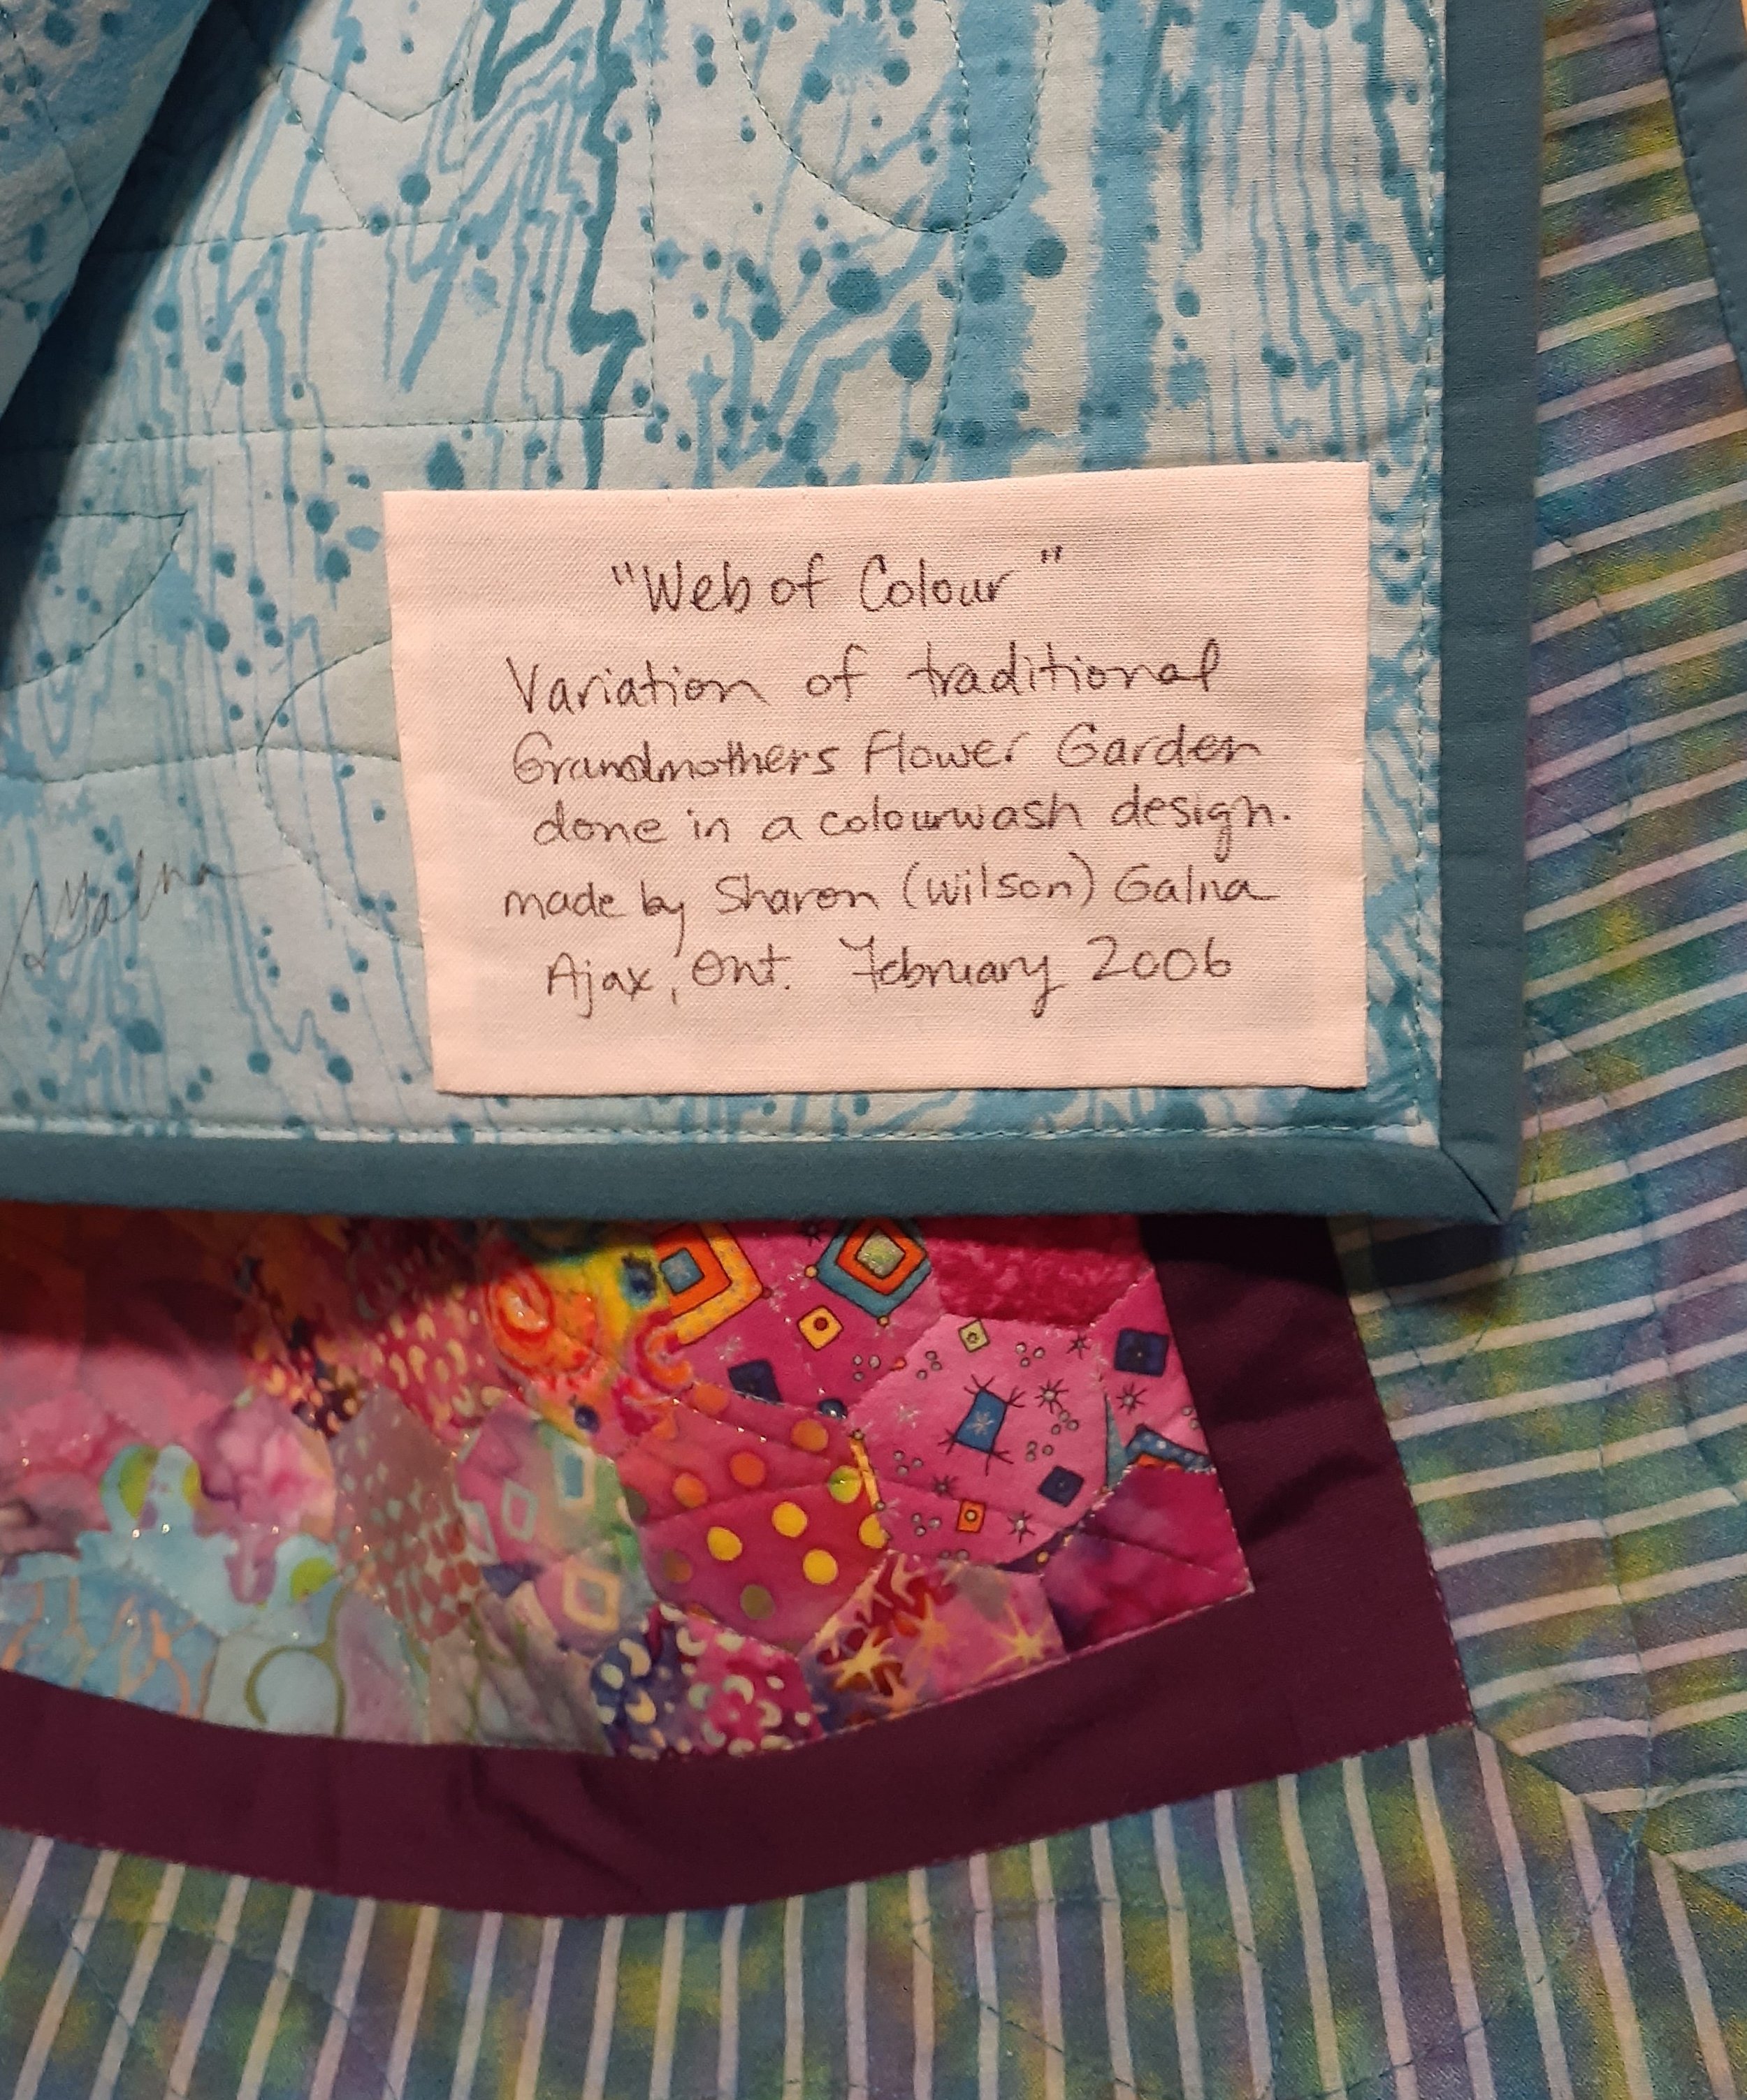
What type of information should be included on a quilt label? That’s totally up to you…how much information do you think is necessary for the occasion? Below left you will see the label made for my mother-in-law’s 80th birthday quilt. I included the why (her birthday), the who (her name and mine), the where (the town I lived in when I made it), and the when (the date). You’ll also notice that I included both our maiden names as well as married names. This will come into play when future family members wonder who these people are when our time is up! Also, if you have someone else aside from you do the quilting, that should be included as well. So, for your own labels it really depends on what information you think is pertinent to the occasion.


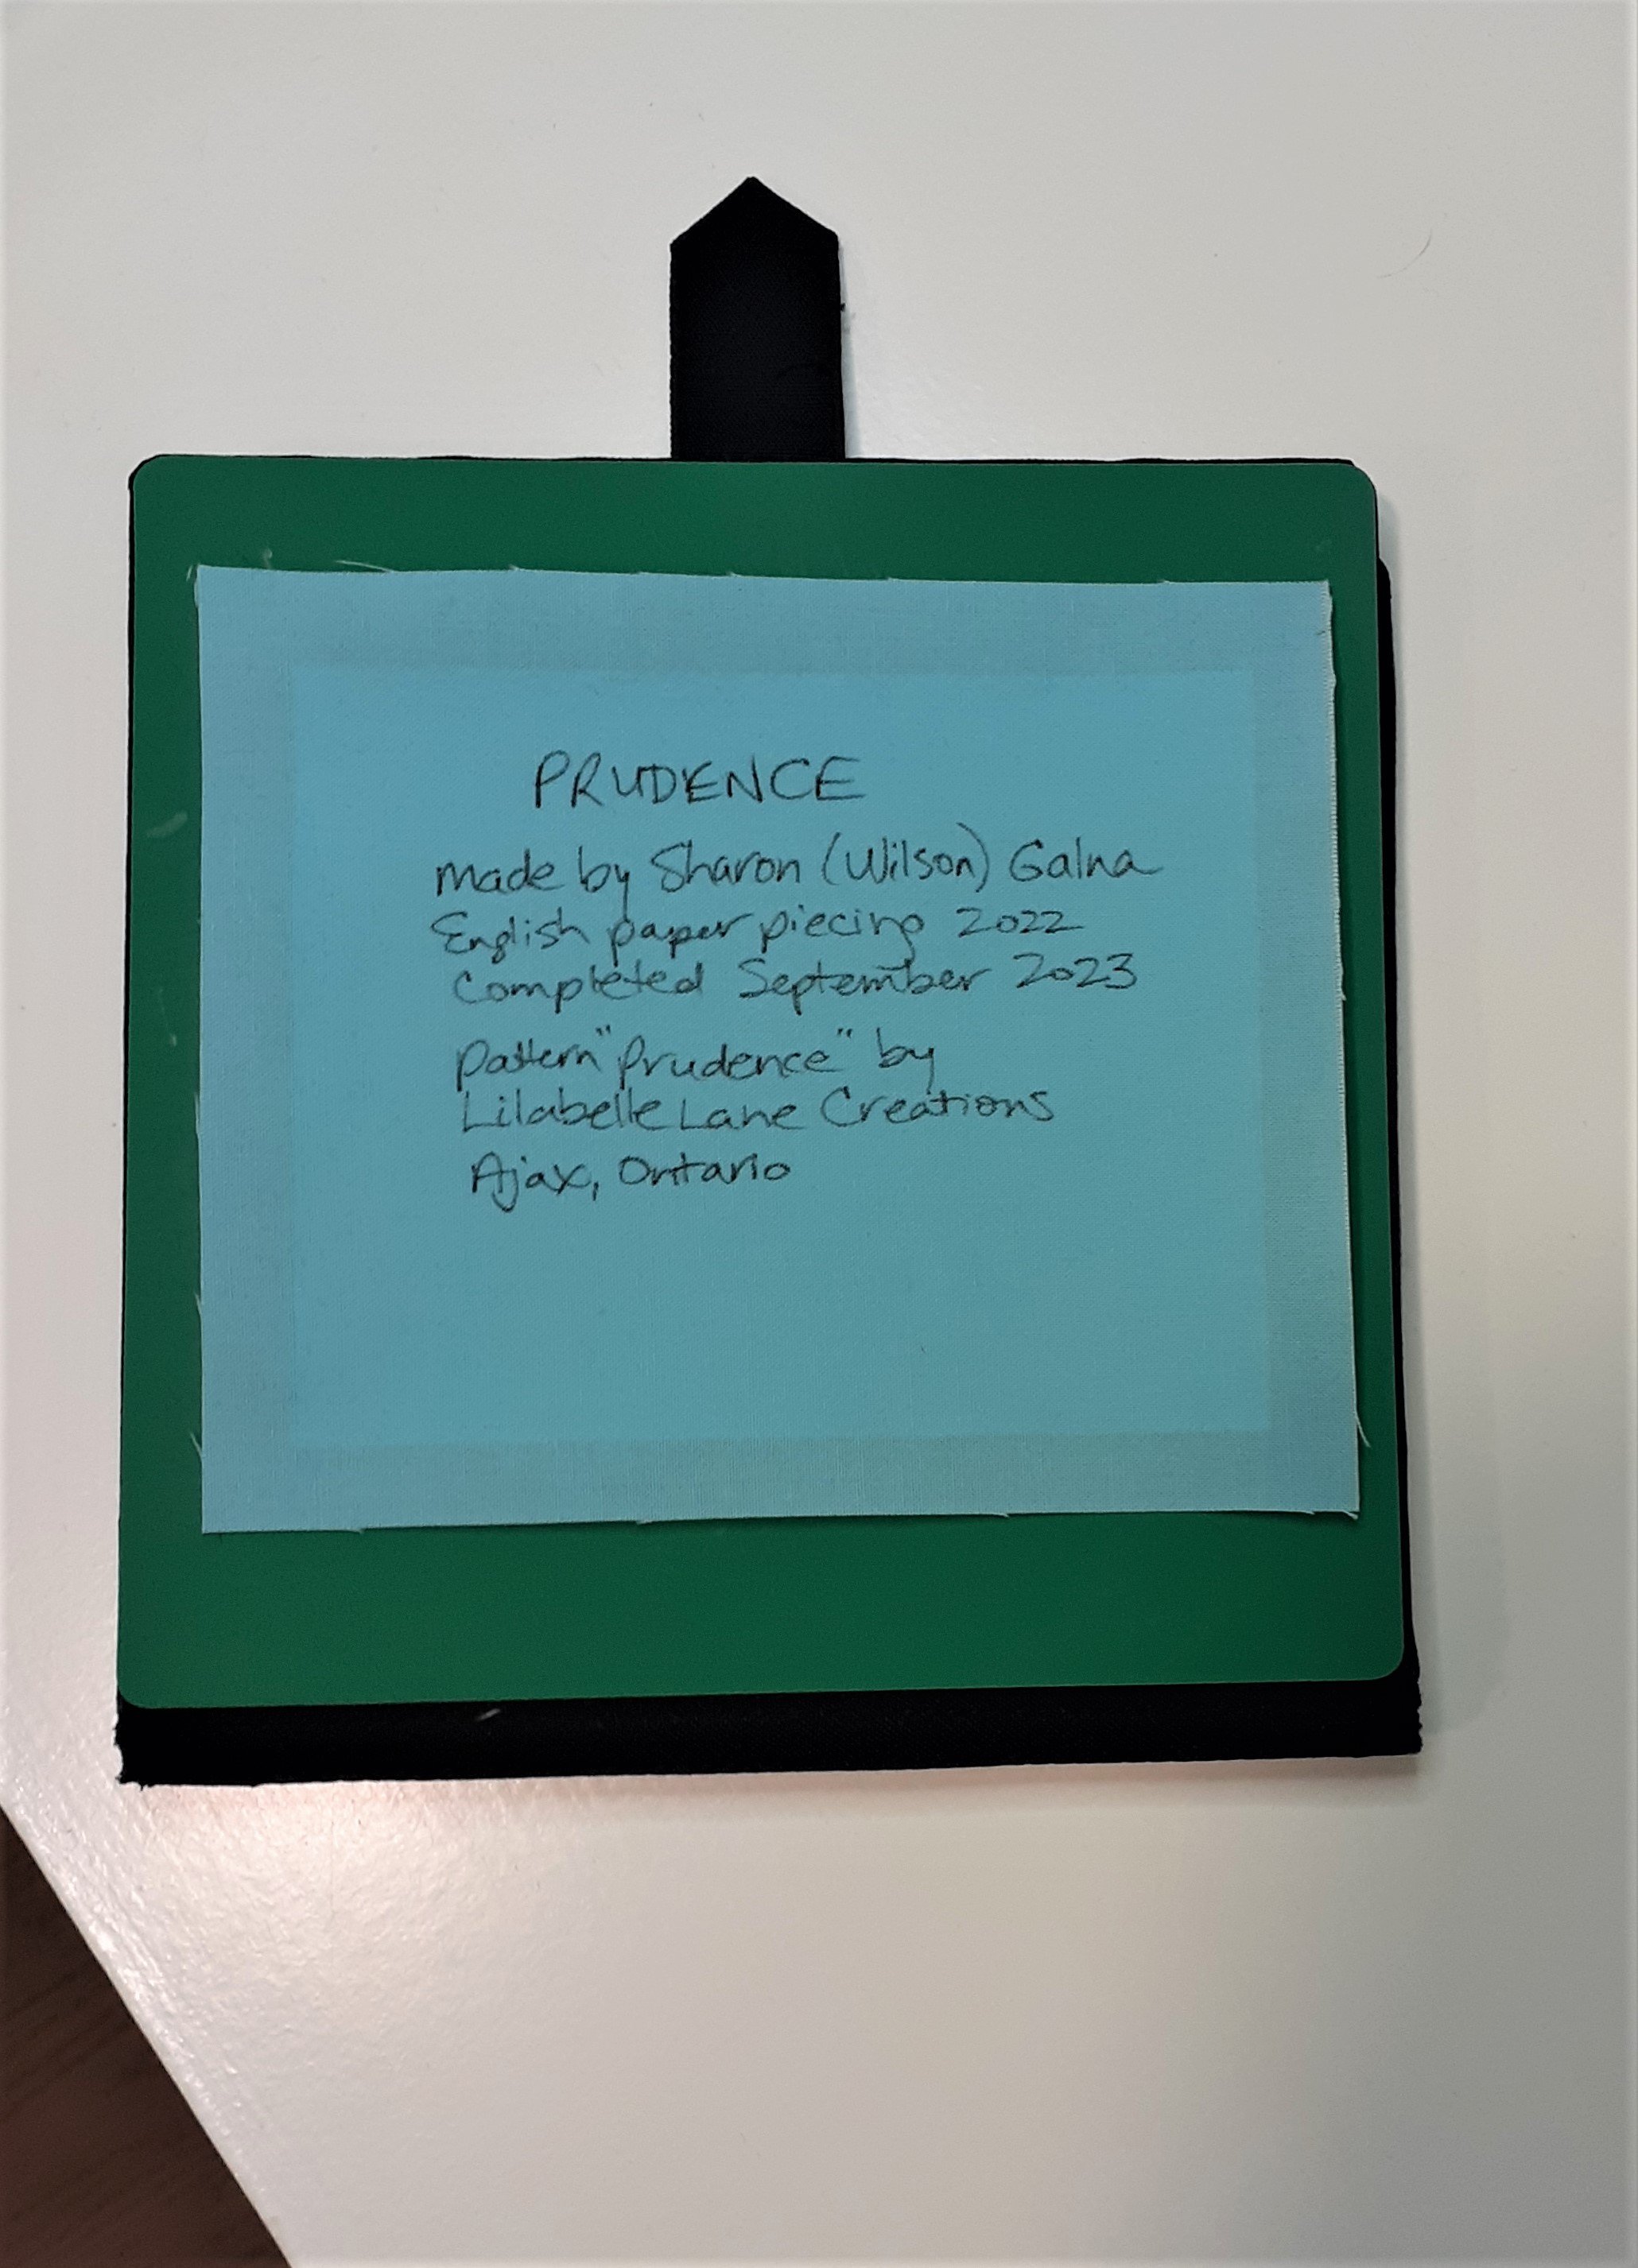
Another method for making labels is to use your computer, printer and specially prepared fabric sheets. Unfortunately, any of the quilts I made using this method have been gifted so I don’t have one to show you, but I do have a wallhanging I made for my mom (from her “hot” early 20’s!) using EQ Printables which is a pretreated piece of cotton fabric with a shiny paper backing for stability as it goes through the printer (the packaging has changed since I purchased mine shown below).
These are made specifically for ink jet printers and what you see on the computer screen is what appears on the fabric. So you can include all the information required (including photos if you like) in a word document, place the prepared fabric in the printer where the paper usually goes and press “print”. I check my paper settings first and highlight “heavy matte paper”, but your printer might have slightly different paper settings. Of course, these printables are quite expensive, so if you plan on using them you might want to economize and include 3 or 4 labels on one piece of pre-treated fabric. There are other brands as well so if your local quilt shop carries them in stock check with the staff on what they recommend. Before printing on the fabric sheet be sure to test your document on a piece of regular paper…that way you won’t waste the fabric sheet if there’s a typo, or if things aren’t lined up the way you want them to be.
Once it has gone through the printer, remove the paper backing and give it a good press. With both the EQ Printables as well as the Pigma marker I heat-set the fabric using an iron on the cotton setting.
All that’s left to do is trim the label to the required size including a 1/4” hem, press the hem edge to the wrong side and hand-stitch in place on the back of the quilt. I usually place the label on the bottom right as I’m facing the back of the quilt, but I don’t really think that’s a “rule”. But if you are entering a quilt into competition it just might be, so check the rules of each particular competition/show.
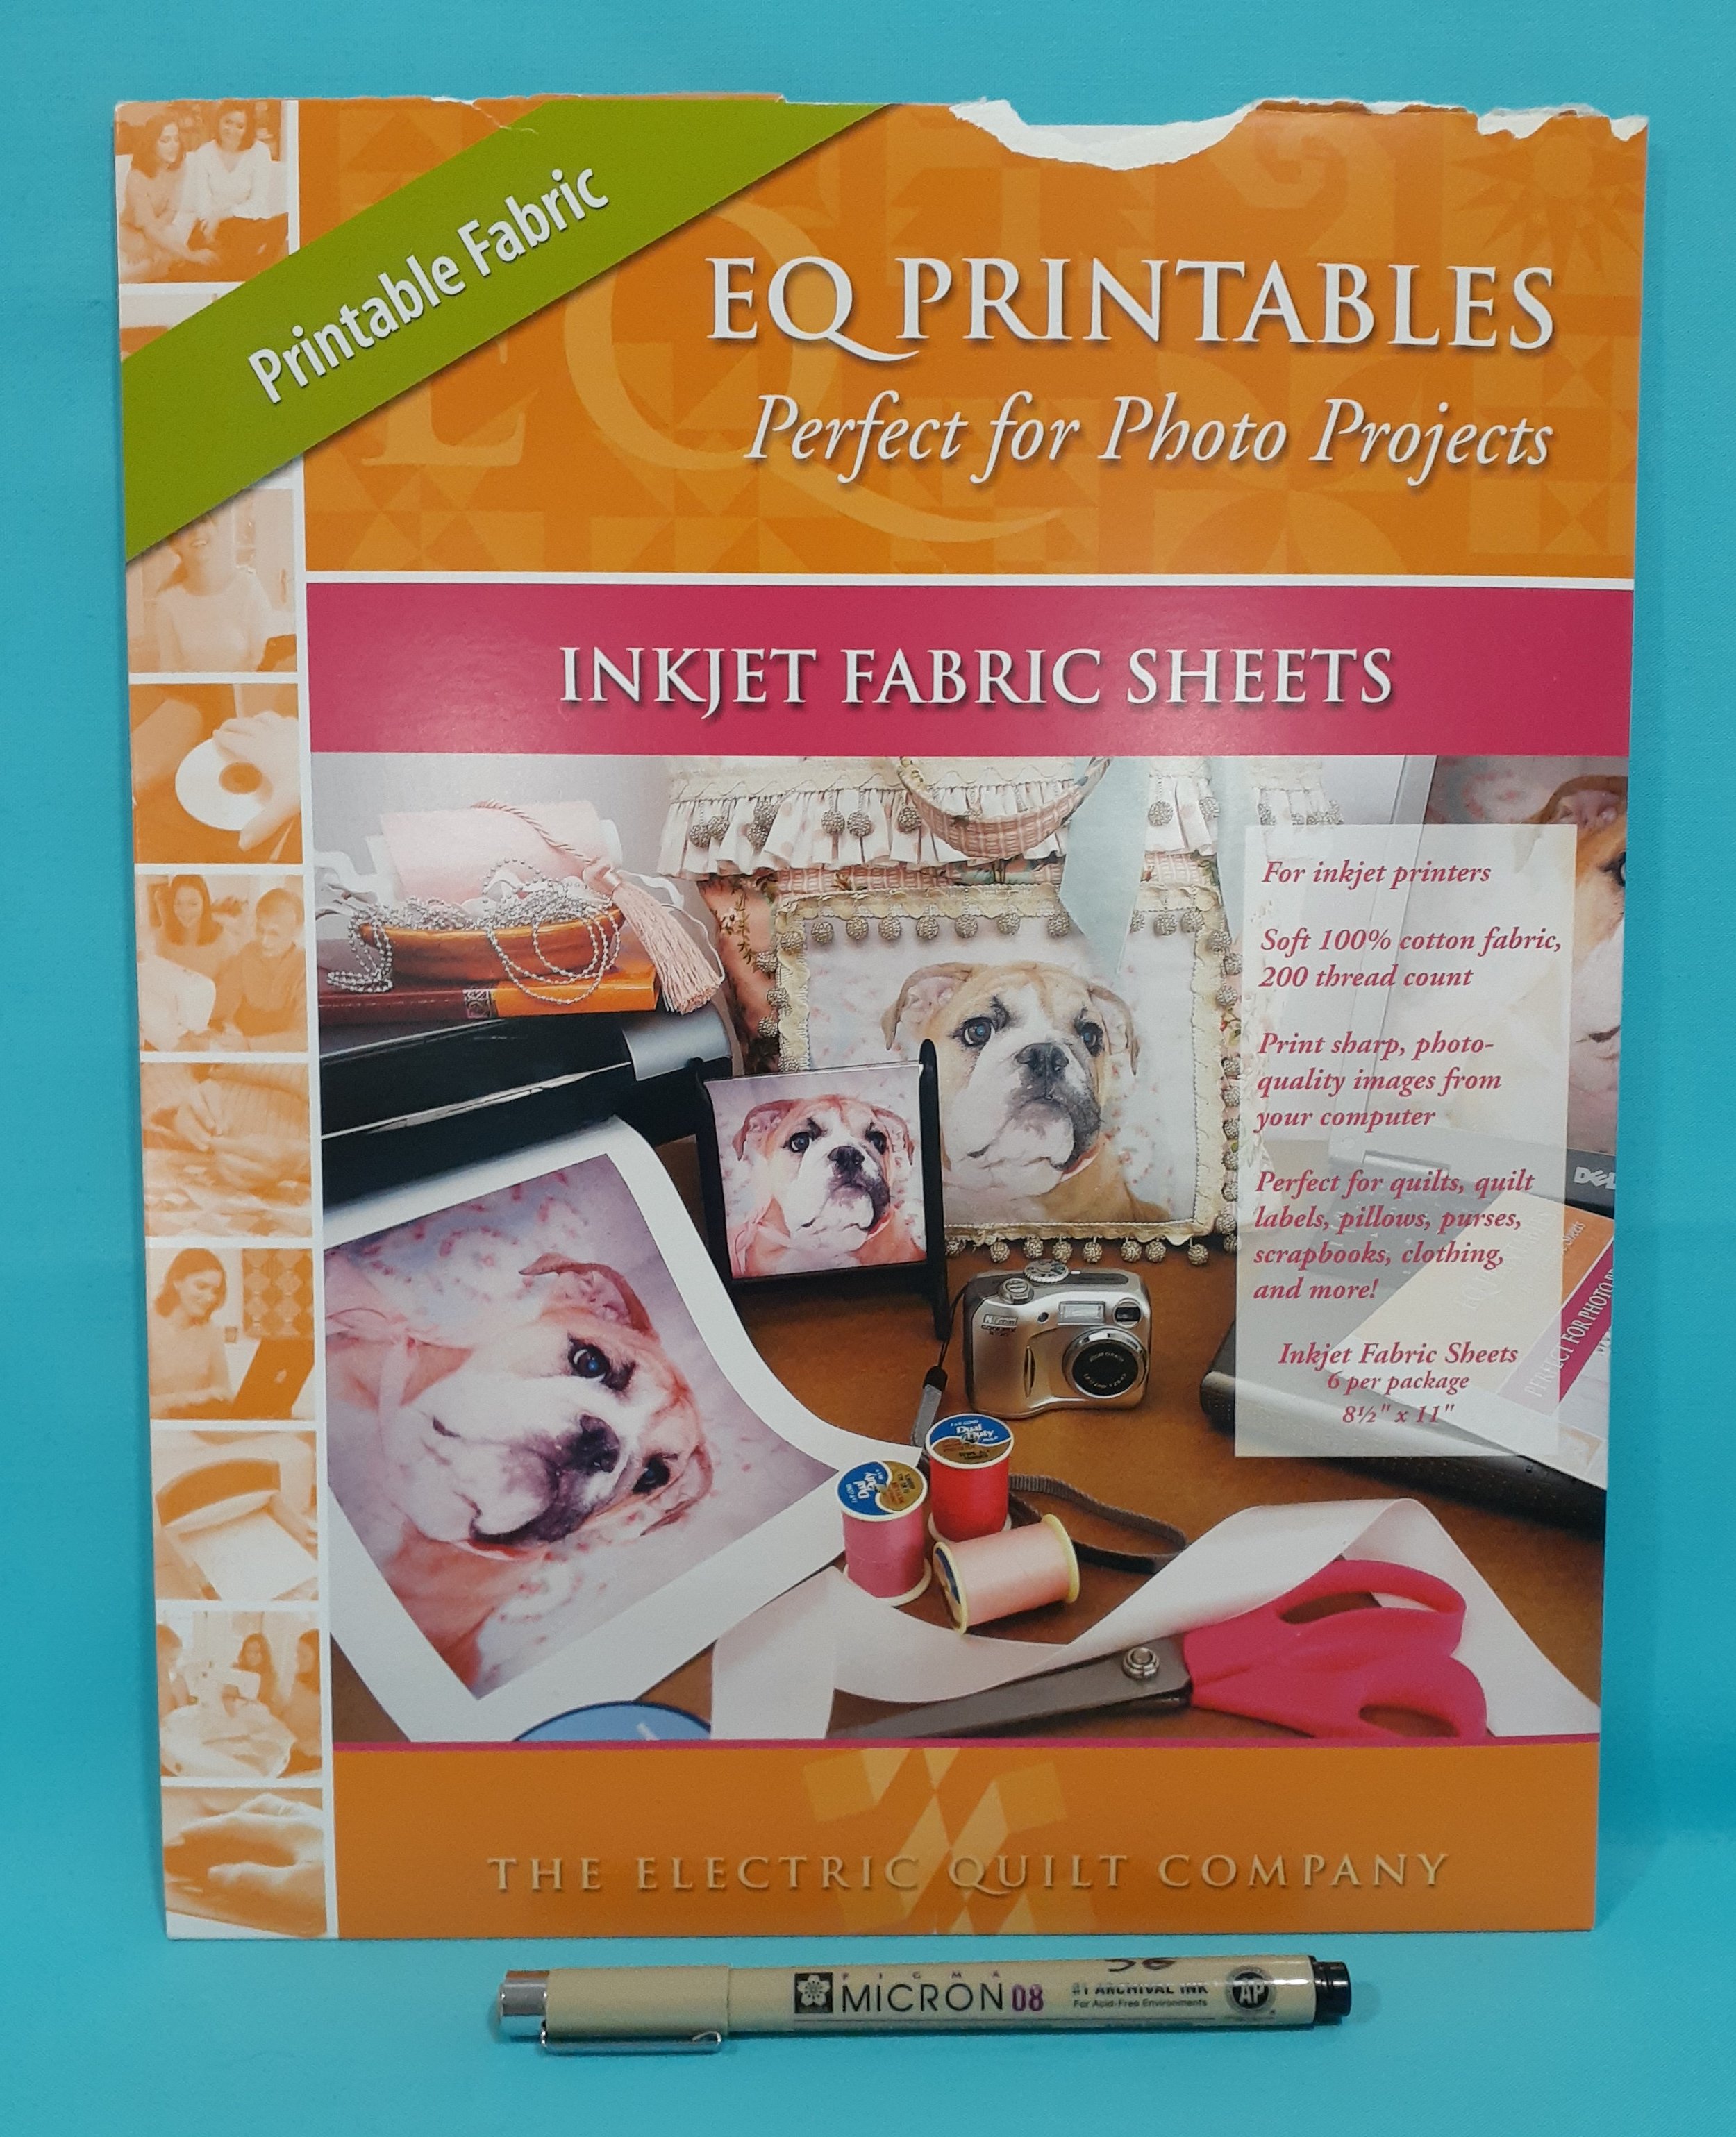
EQ Printables and my Pigma pen

“Adele” using EQ Printables
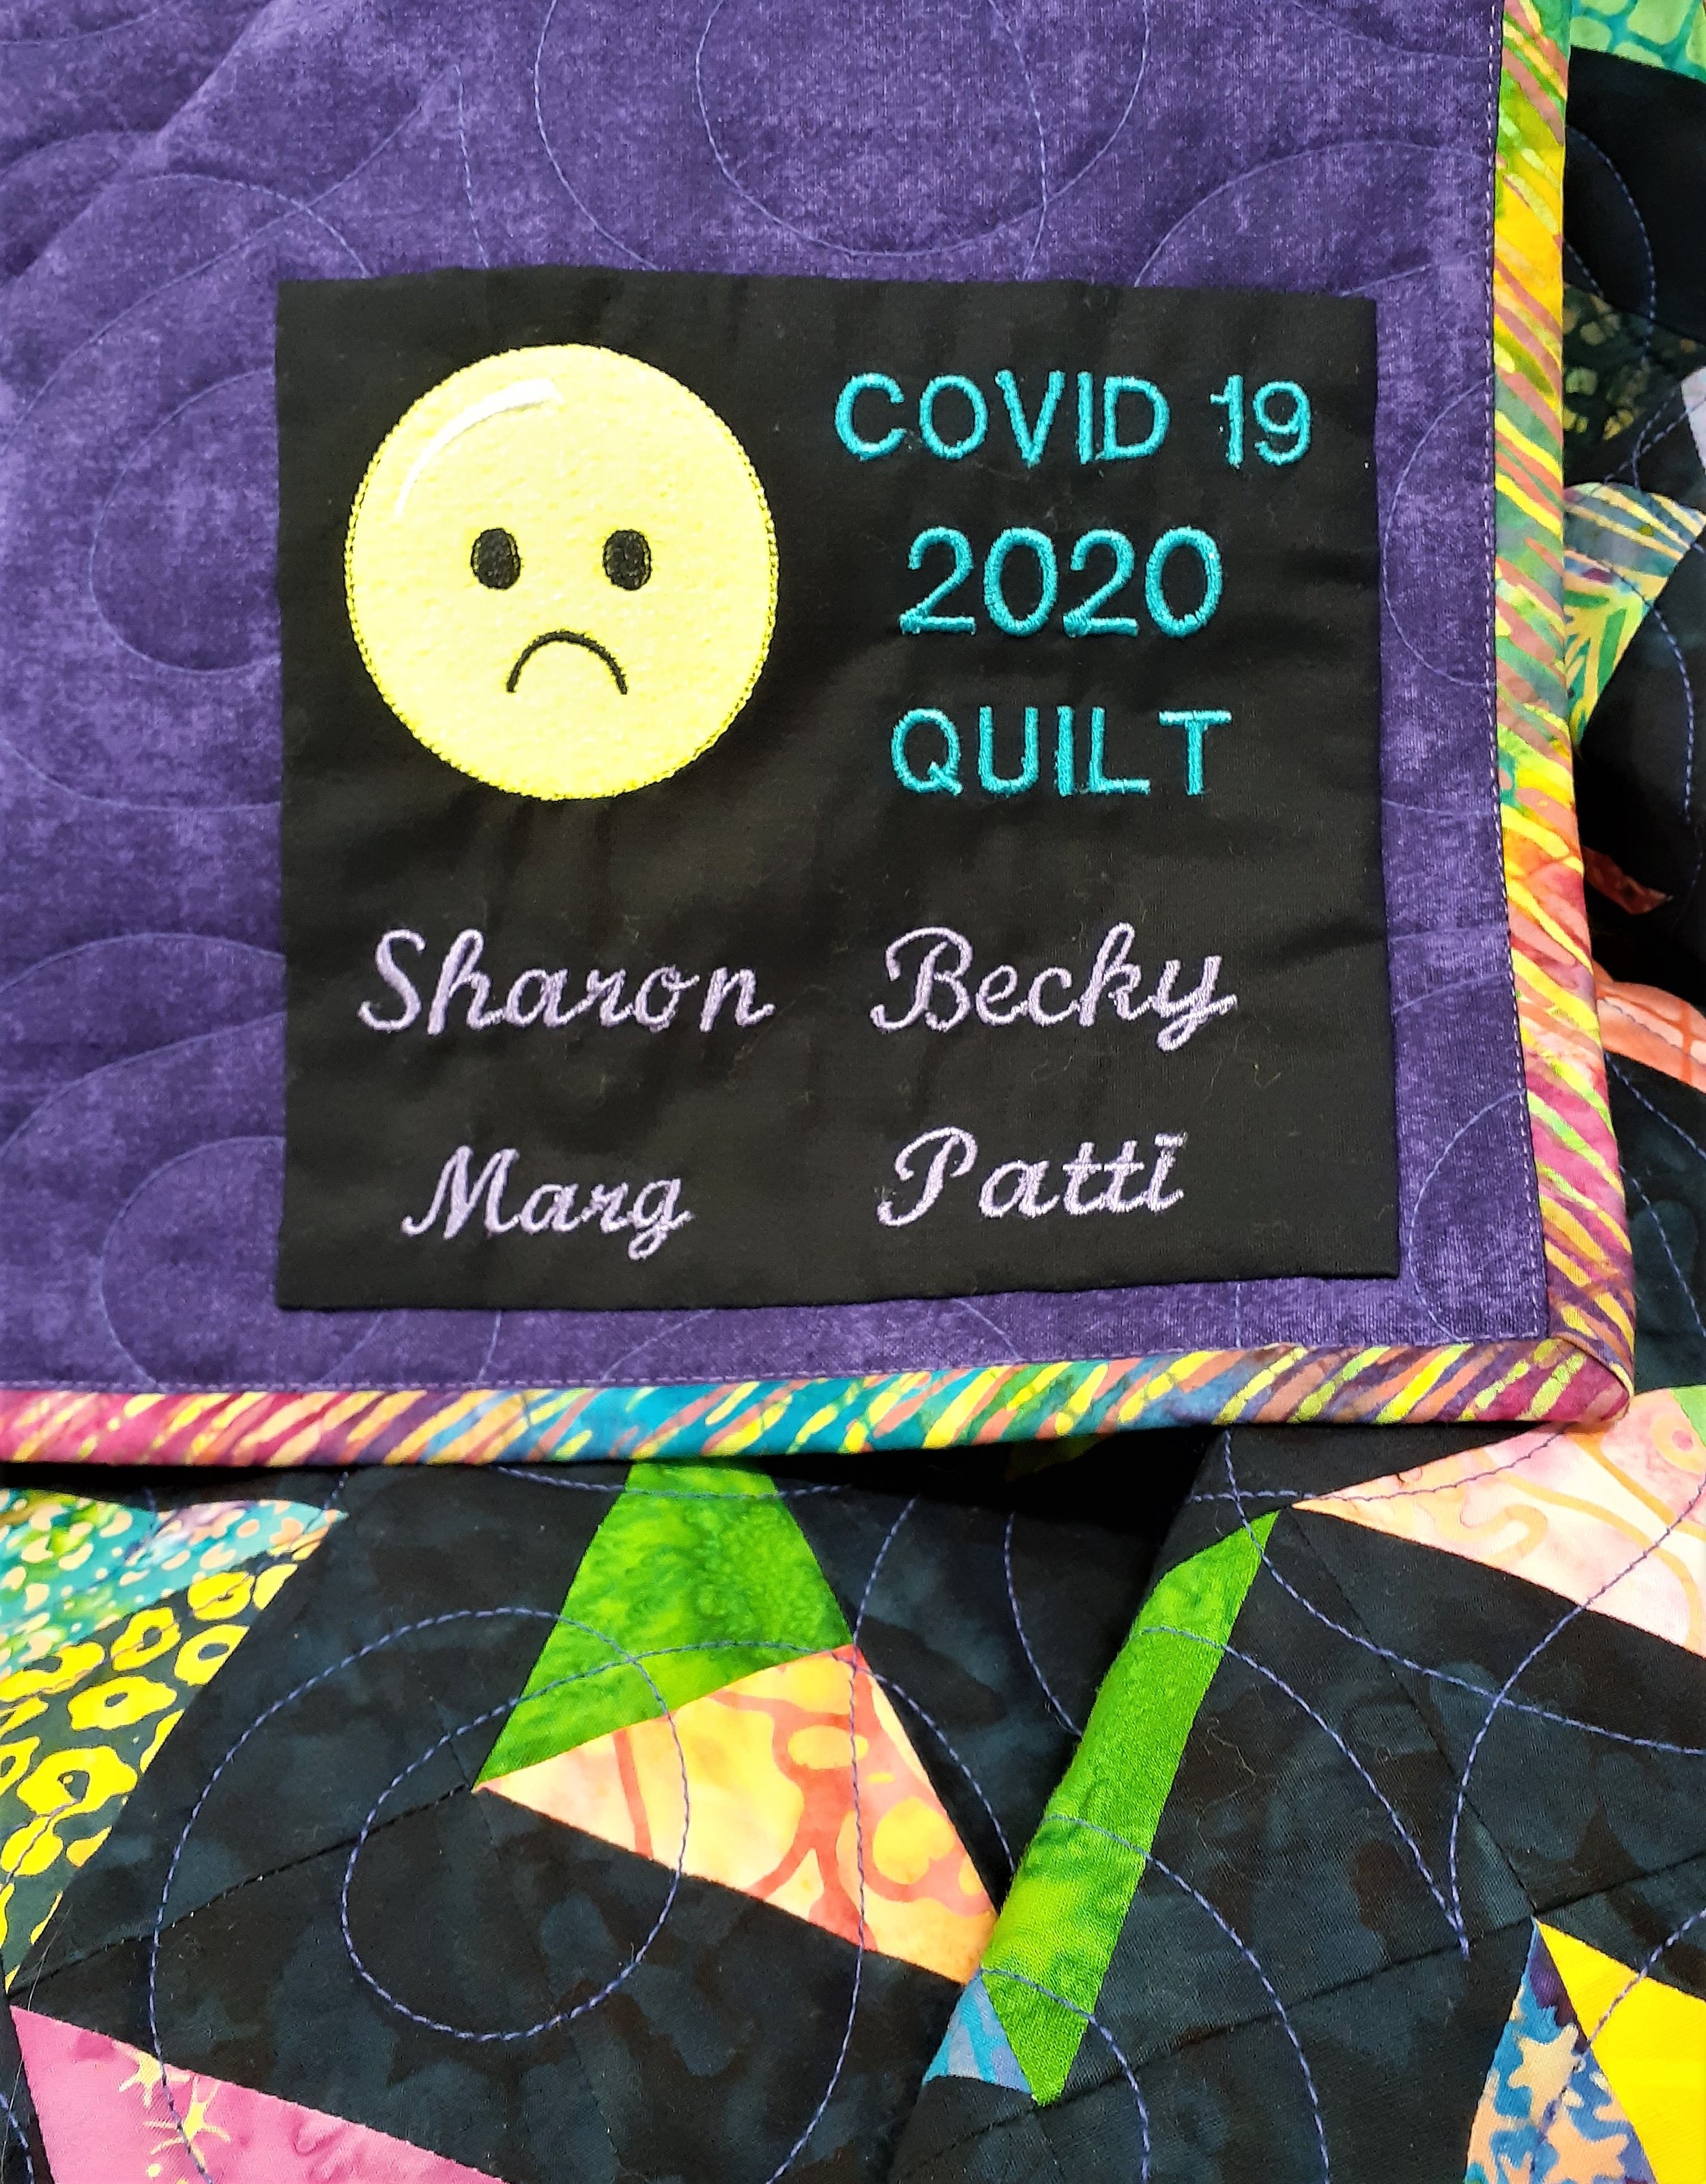
Many quilters are also into machine embroidery and are able to craft the most beautiful and creative labels for their own quilts. Such is the case with my friend Patti, who made me the label you see at the top of the page, when we all worked on a Round Robin project together to stay connected during the height of Covid. So, as you can see, there are many ways to record the information about your quilts that can stay with it and tell its story.
Linda, I hope this has answered all your questions, and hopefully this has helped other quilters out there realize that their quilts are worthy of being recorded and remembered.